Technical Camera Movements Explained
I have used technical cameras to make the vast majority of my work since I first picked up a Wista 5×4 technical camera in 2006. I still do this for a number of reasons today – it slows me down, makes me more precise and deliberate, makes me predictive rather than reactive and it improves the quality of image visualisation.
Technical cameras have a complicated array of movements that can be very intimidating and confusing to someone new to or thinking about using these kinds of cameras. This is exacerbated by advertising pictures of technical cameras with bizarre-looking and excessive tilts, shifts and swings – which are never used in the real world. In practice there are a few common movements used to gain the standard effects; the objective of this article is to explain and demystify some of these common situations.
What are technical cameras?
Technical cameras are basically a class of camera that has three components:
- Front standard – somewhere for a lens to attach
- Back or rear standard – somewhere for an image-capture mechanism to attach (either a film holder for film or a digital capture device like a digital back or mirrorless camera)
- Bellows and rail – to connect them.
Focus is achieved by moving the lens and film/capture plane closer together or further apart. Normally to focus at infinity for a lens – say a 100mm lens – the lens and film plane will be the same focal-length distance apart, i.e. 100mm apart.
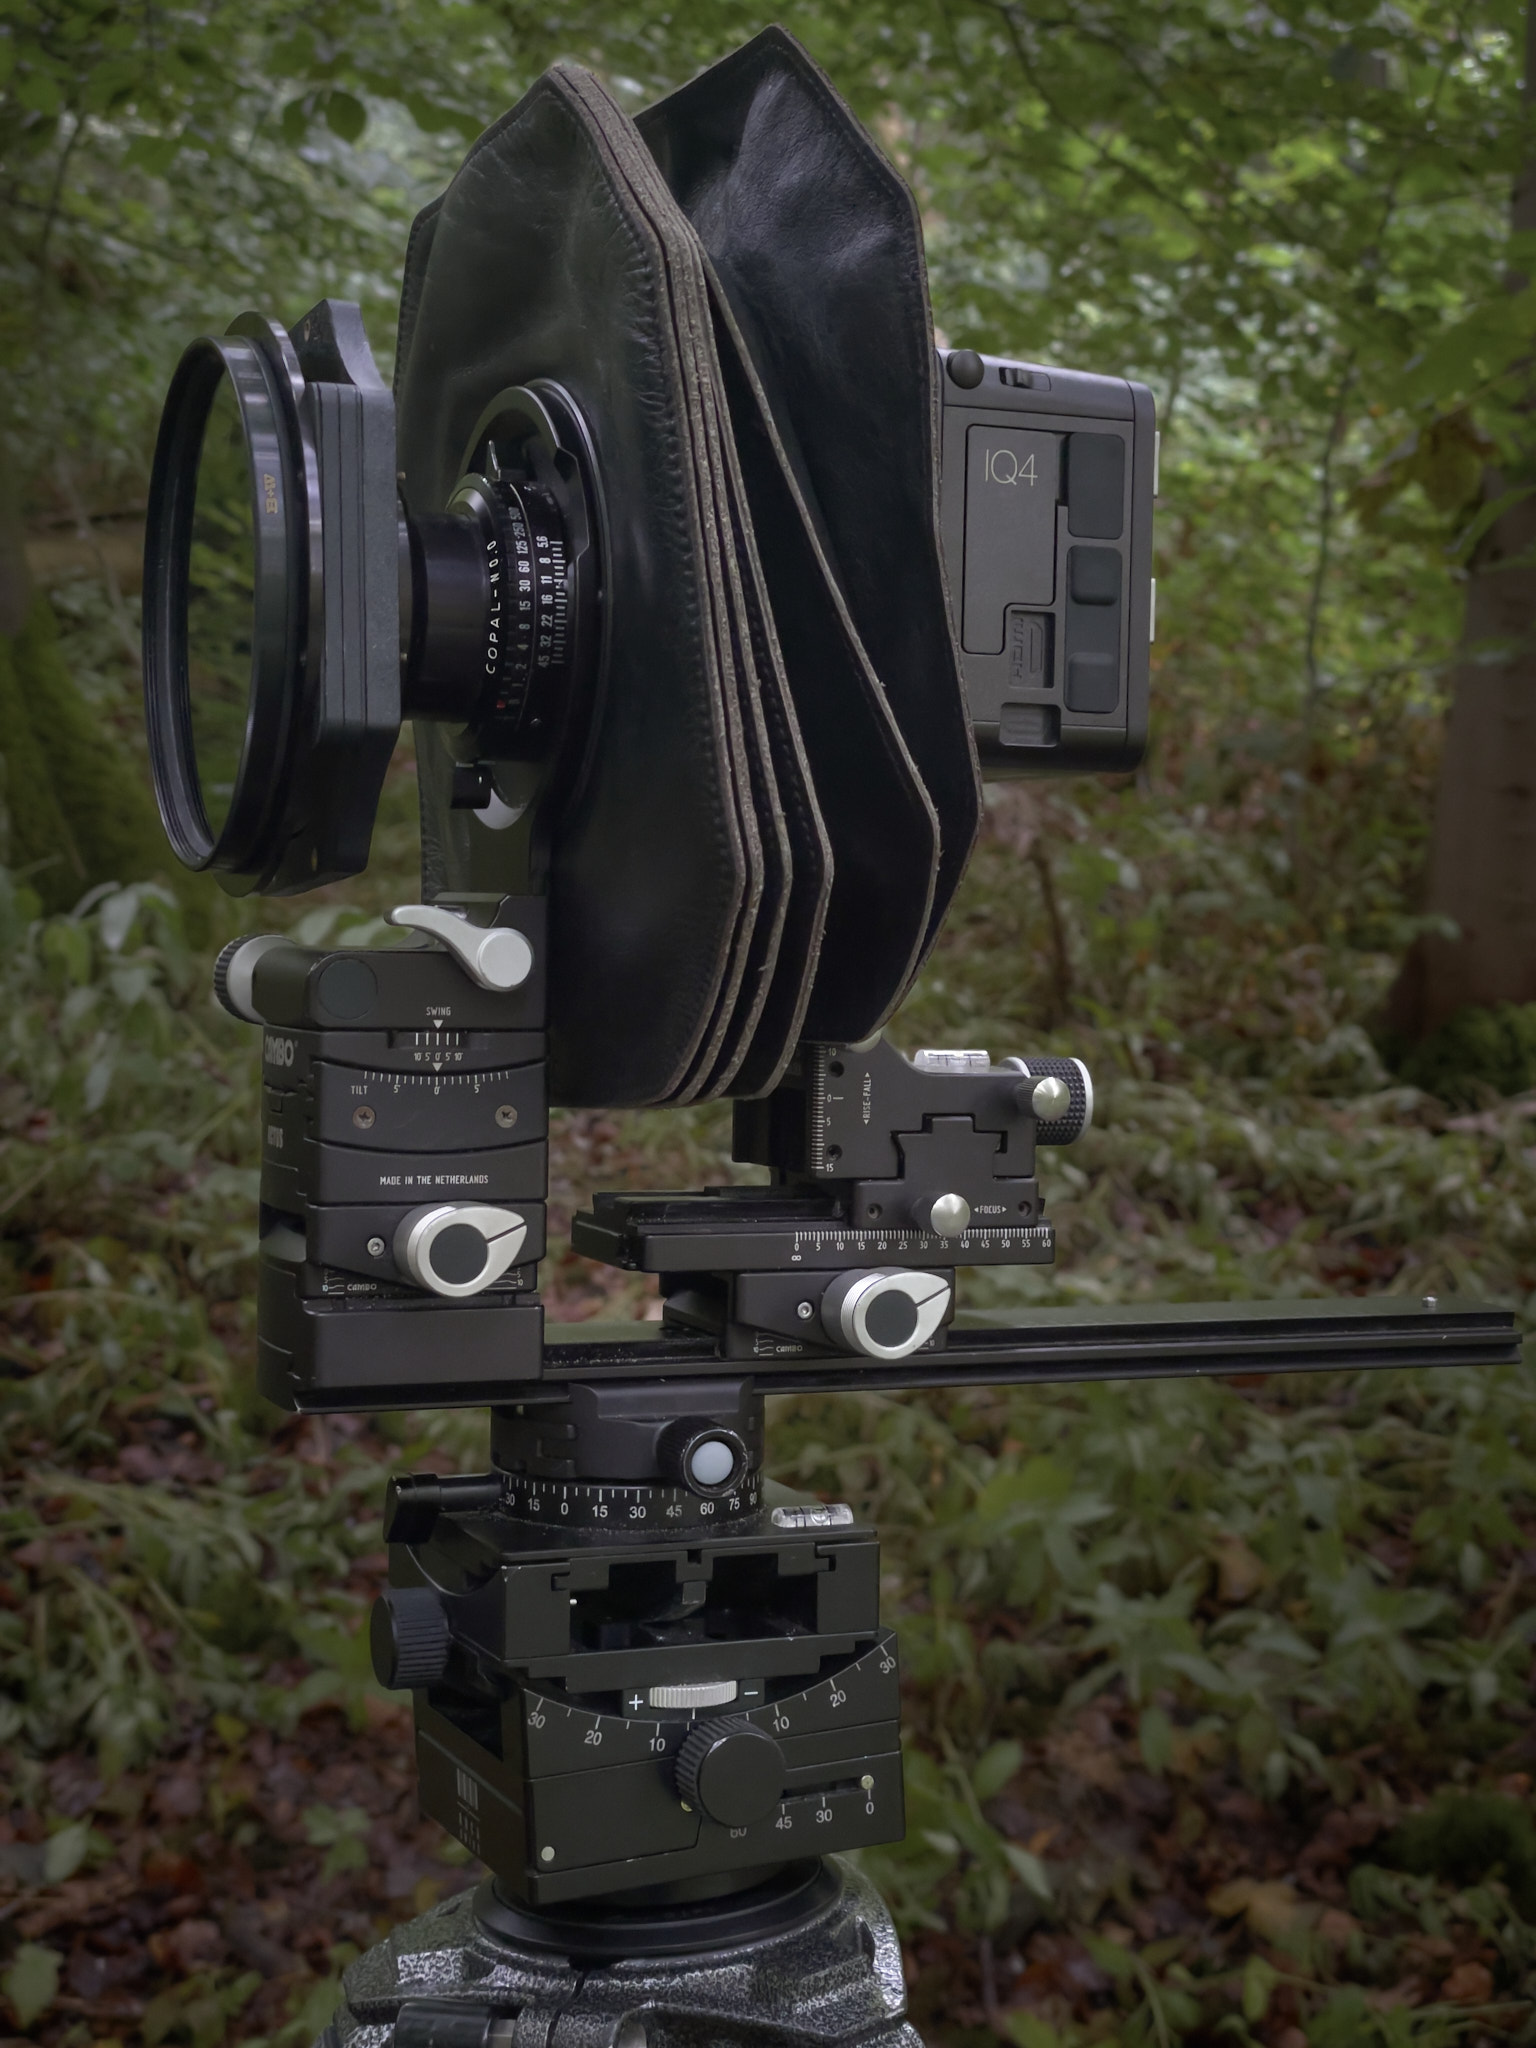
Examples of technical cameras from the film era include 5×4 or 10×8 film view cameras like those made by Linhof, Arca, Chamonix, Ebony, Toyo, Wista etc. For the digital era they were scaled down and examples include technical cameras sized and designed for mirrorless digital cameras and digital backs like the Cambo Actus, Linhof Techno, Arca, Alpa etc. My primary 5×4 film camera was a Linhof Technikardan 45S though I also used a Wista, Chamonix and Toyo at various stages. I used two 10×8 film cameras – an Arca and I still have a gorgeous Chamonix. Since 2018 I have used a Cambo Actus for all my digital technical camera work.
Movements
Technical cameras have movements that are designed to control two things: the plane of focus and the perspective.
On a camera without movements, the plane of focus is always parallel to the film and lens planes; front-to-back sharpness is achieved by stopping down the lens aperture to increase the depth of field. The lens is focused to the ‘hyperfocal distance’, the closest it can be focused for that particular lens and aperture combination whilst keeping the background acceptably sharp. How close you can focus the camera and still keep the background sharp is limited to the depth of field of the lens. In reality, there is only one plane of sharp focus – depth of field gives the illusion of sharpness, but this breaks down under enlargement.
Secondly, when a camera (and film/capture plane) without movements is pointed upwards or downwards, the perspective changes. Lines that were parallel begin to converge, causing buildings and objects with straight lines to take on a bizarre shape. Without movements, the only way to prevent this happening in camera is to set up the camera film plane parallel to the plane of the lines in the picture; in most cases this is dead level which limits the ability to place the horizon anywhere other than the middle of the picture (unless you crop top or bottom of course – which I often do on 35mm/medium format – or use a specialist perspective-control lens).
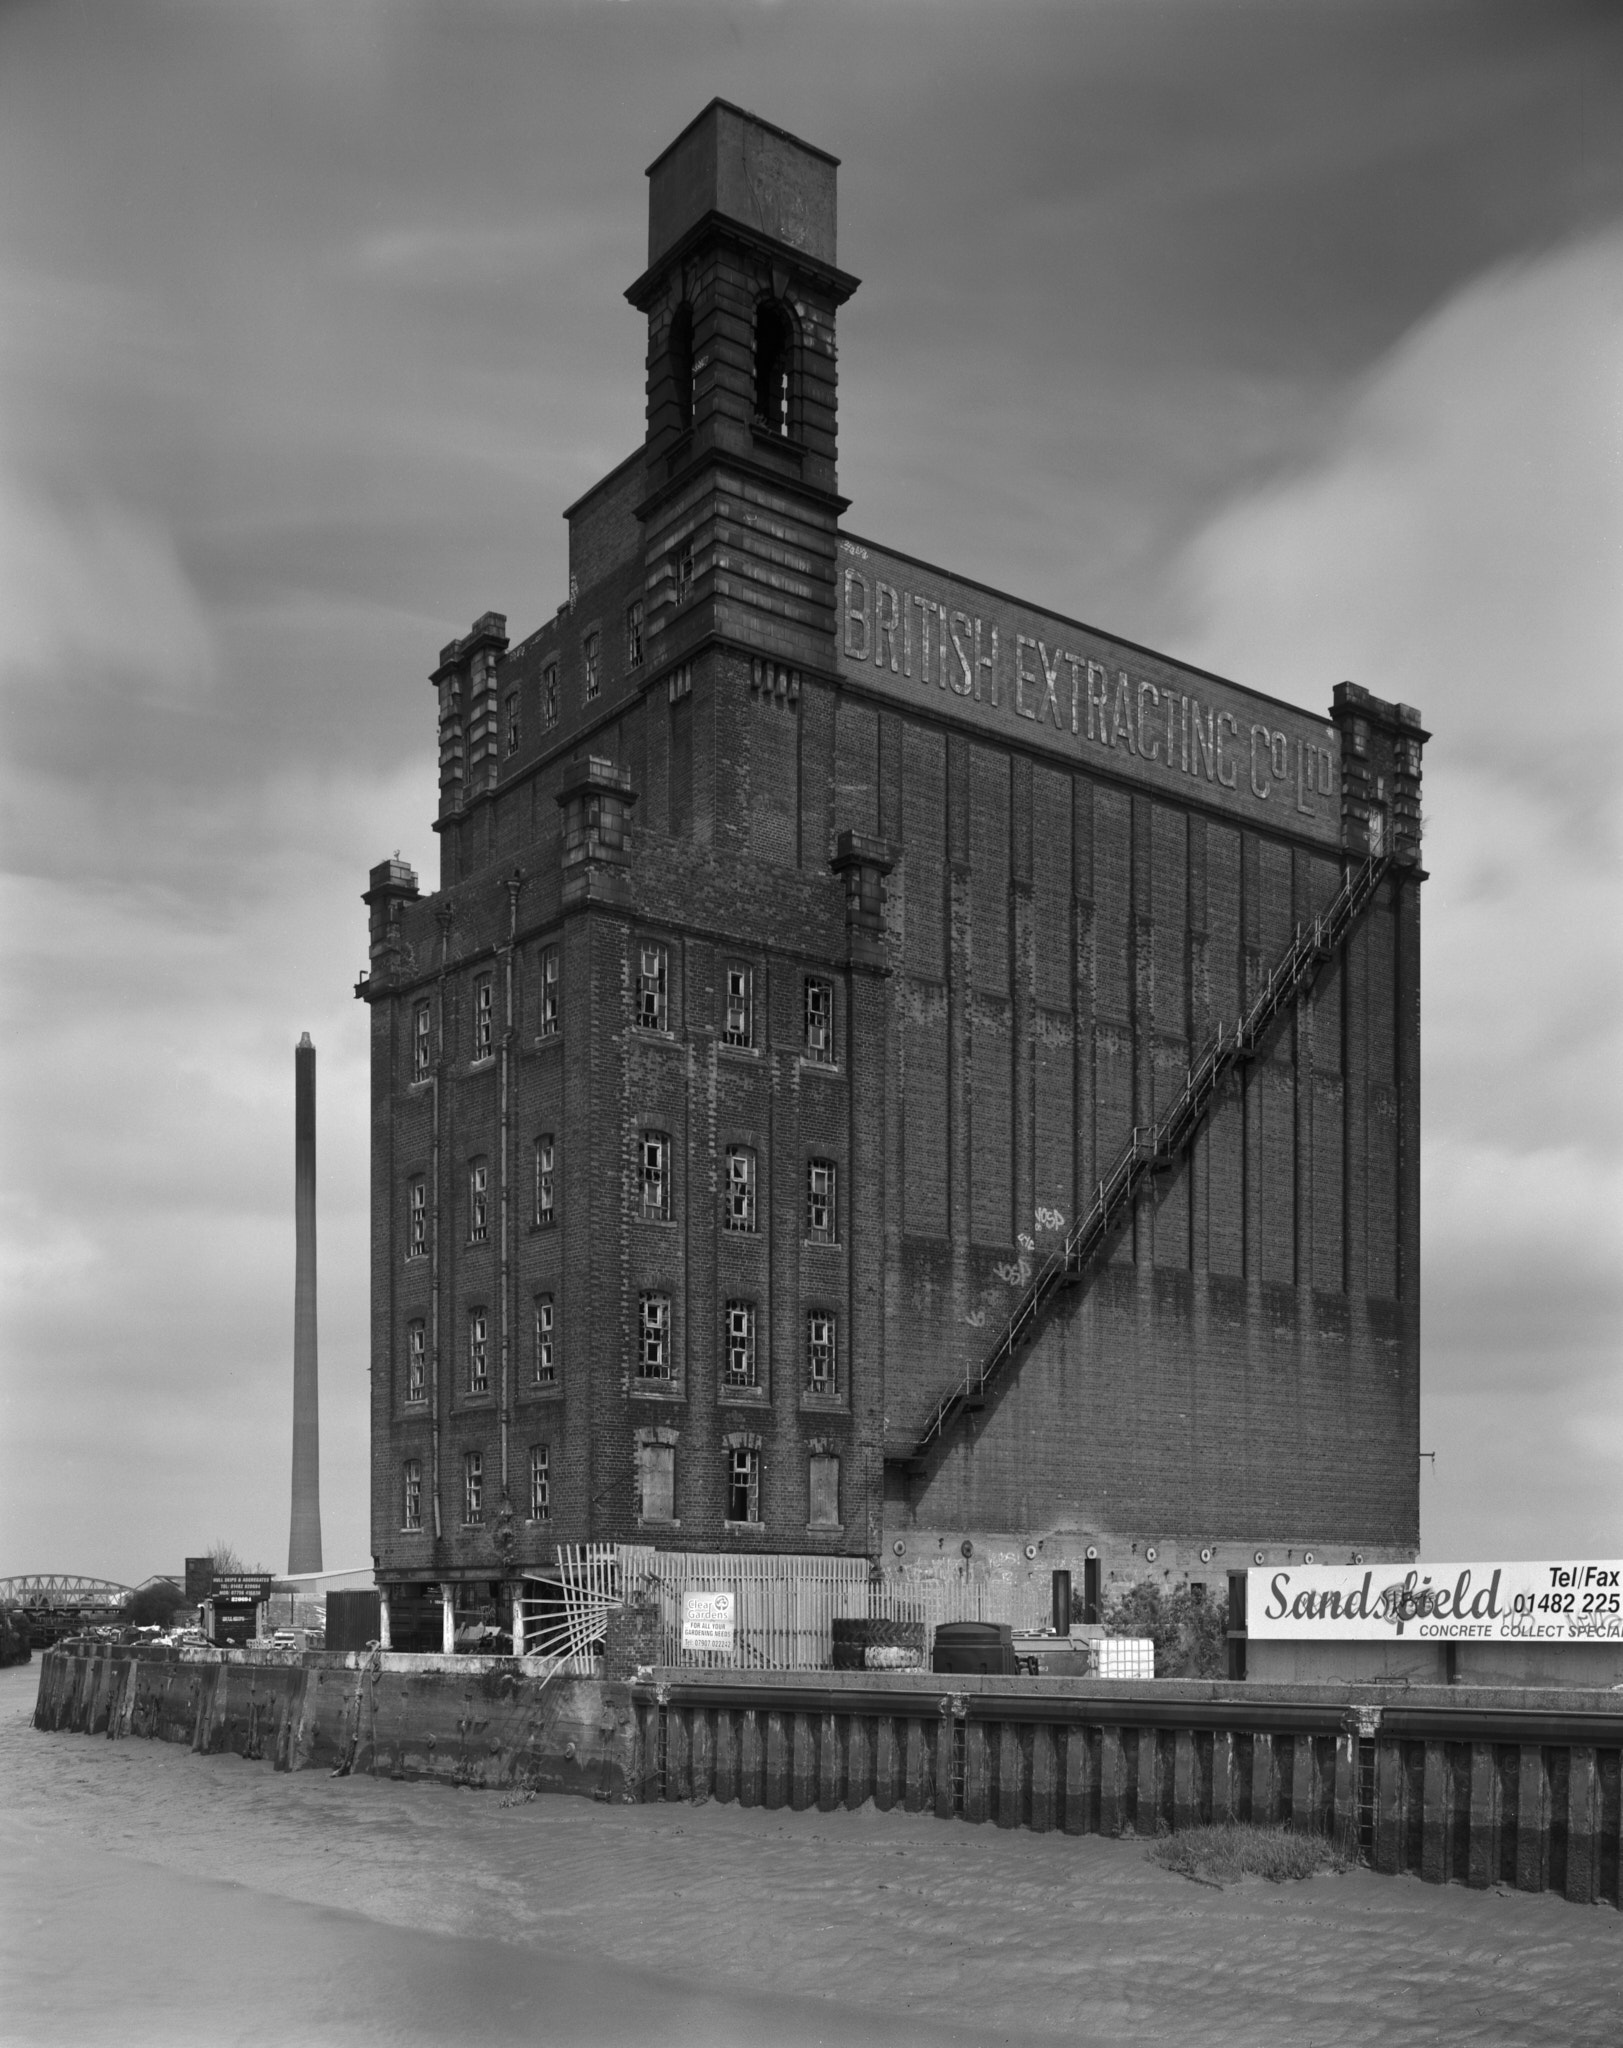
The alternative is to use post processing such as keystone software to distort or stretch the image – such as Capture One – and/or image-stacking software like Helicon Focus to blend multiple images together taken at different points of focus.
A technical camera gives you control of plane of focus and perspective in camera rather than in post. In a nutshell, tilting the back standard (film/capture plane) of a technical camera controls the perspective and tilting the front standard (lens) and/or back standard controls the plane of focus. There is a range of potential movements found on a technical camera, but not all cameras have all the movements:
- Front tilt – the ability to tilt the lens forwards or backwards, which moves the plane of focus.
- Rear tilt – the ability to tilt the film plane forwards or backwards, which moves both the plane of focus and alters perspective.
- Swing (front and rear) – basically the same effect as front and rear tilt but adjusting the focus and perspective side to side rather than top to bottom.
- Rise and fall (front and rear) – moving the lens or film plane upwards or downwards, allowing the picture to be recomposed without any change to perspective or focus. Typically used when the film plane has been set parallel to the plane of the straight lines in the picture; this has an effect similar to pointing the camera upwards or downwards but keeping the film plane parallel – eliminating converging lines.
- Shift – same as rise and fall, only side to side.
There you have it – it sounds complicated and is a lot to learn but in practice it is simplified when you understand that there are really only five standard scenarios or situations that account for 99.9% of all practical pictures.
The five scenarios
Front-to-back sharpness
Tilting the lens standard forward or the film/capture back backwards causes the plane of focus to move so that it is possible to run the focus plane from the ground just in front of you to the horizon. This means that foreground objects at the bottom of your picture and distant objects at the top are sharp, even if the aperture is wide open. Usually only a small amount of movement is needed to achieve this. See the excellent article on the procedure for focusing the view camera to achieve this effect at the Large Format Photography website. This must account for at least two-thirds of landscape pictures, where most of the objects in the picture are on or close to a single plane.
Fix the perspective
Placing the film back parallel with the side of a building will render the perspective more natural; usually this means getting the film/capture plane vertical to the ground, i.e. upright. Most technical cameras have spirit levels to help you get the back level. This result is achieved in two ways: either set the camera up so the rear standard (film/capture plane) is level upright and then use front/rear rise and fall to compose the picture. Alternatively, point the camera upwards or downwards as desired and then tilt the rear and front so that they are upright. It is possible for this movement to be limited by either the camera (not enough fall or rise possible) or lens coverage (running out of glass or getting too much light fall-off). These two scenarios (one and two) are often combined because tilting the lens whilst keeping the back flat alters the plane of focus but does not alter the perspective. Normally, set up the perspective first, and then focus using front tilt.
Looming foregrounds
A common technical-camera effect is to exaggerate the size and scale of the foreground in relation to the background. It is the opposite of scenario two – you deliberately aim to distort or change the perspective. This is most easily achieved by pointing the camera downwards and tilting the film back backwards; this has the effect of altering the perspective so that the foreground seems to loom, and it also alters the plane of focus as in scenario one. One can experiment with how the perspective is distorted by adjusting rear rise or fall and recomposing your picture. It will have the effect of either looming (magnifying) the bottom or top of the image, with a corresponding opposite effect at the opposite side of the image. I use it a lot in inner landscape work to adjust the composition in camera.
Swing
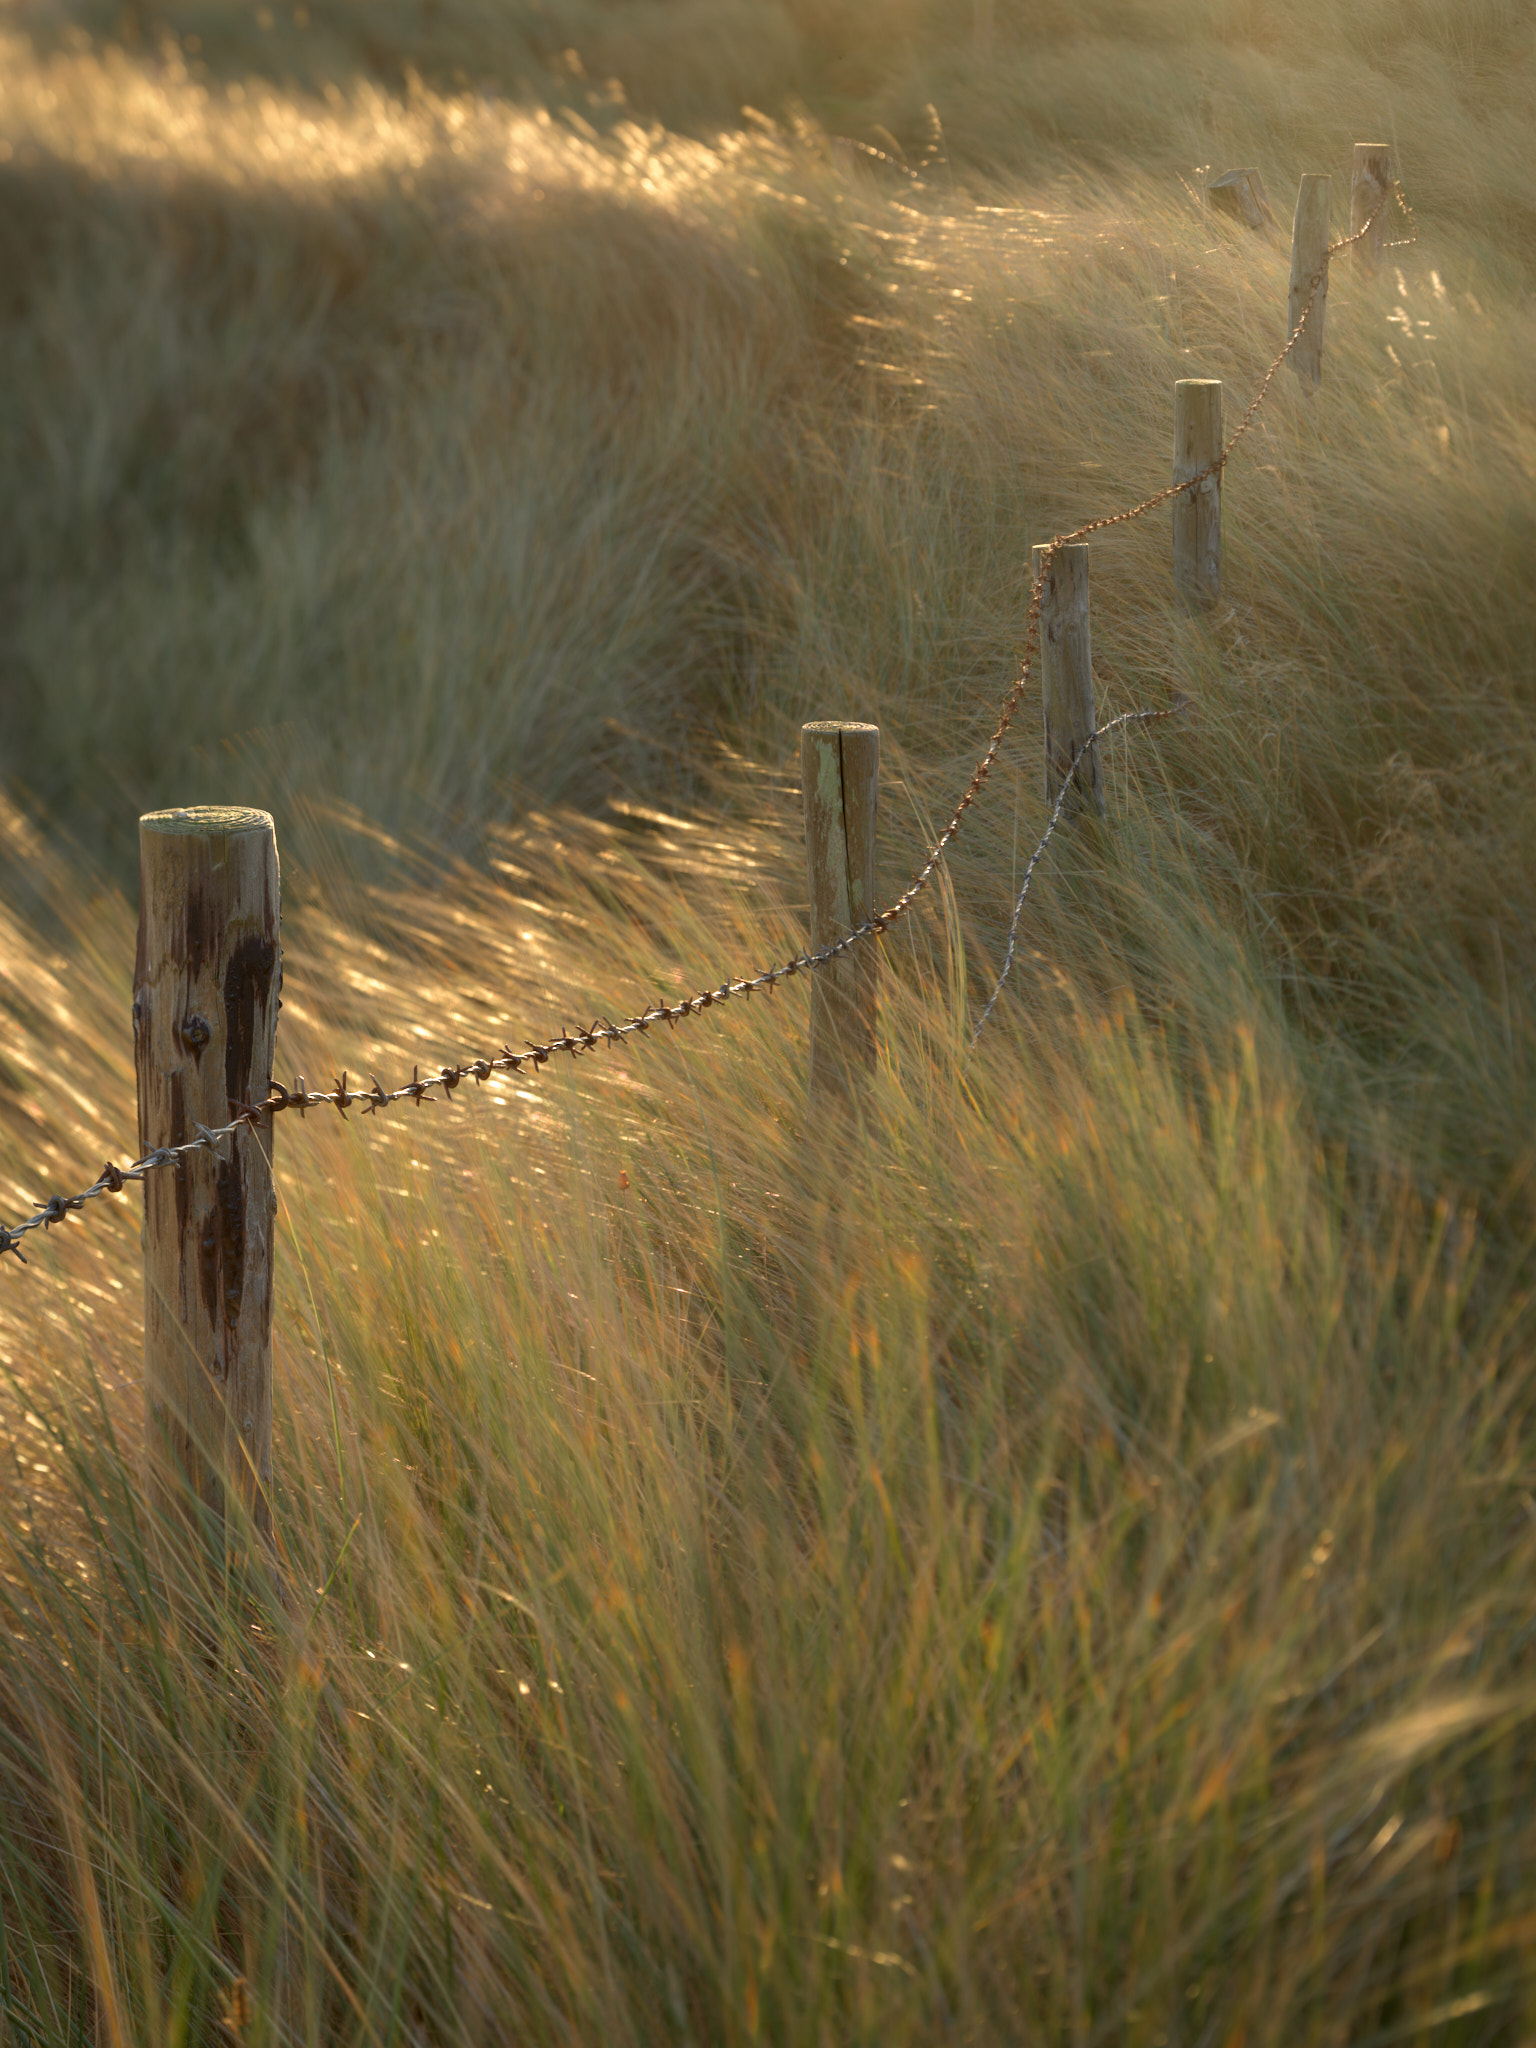
A wall running from foreground left to background right can be rendered in focus by swinging the lens left to right. This adjusts the plane of focus so that it runs from the foreground left to background right. In practice I find this occurs most often in close-up or inner landscape photography. It’s also the situation where compound movements might be needed – imagine moving the plane of focus in both dimensions – left to right and top to bottom – so applying both sets of movements (swing and tilt) simultaneously.
The focus hole
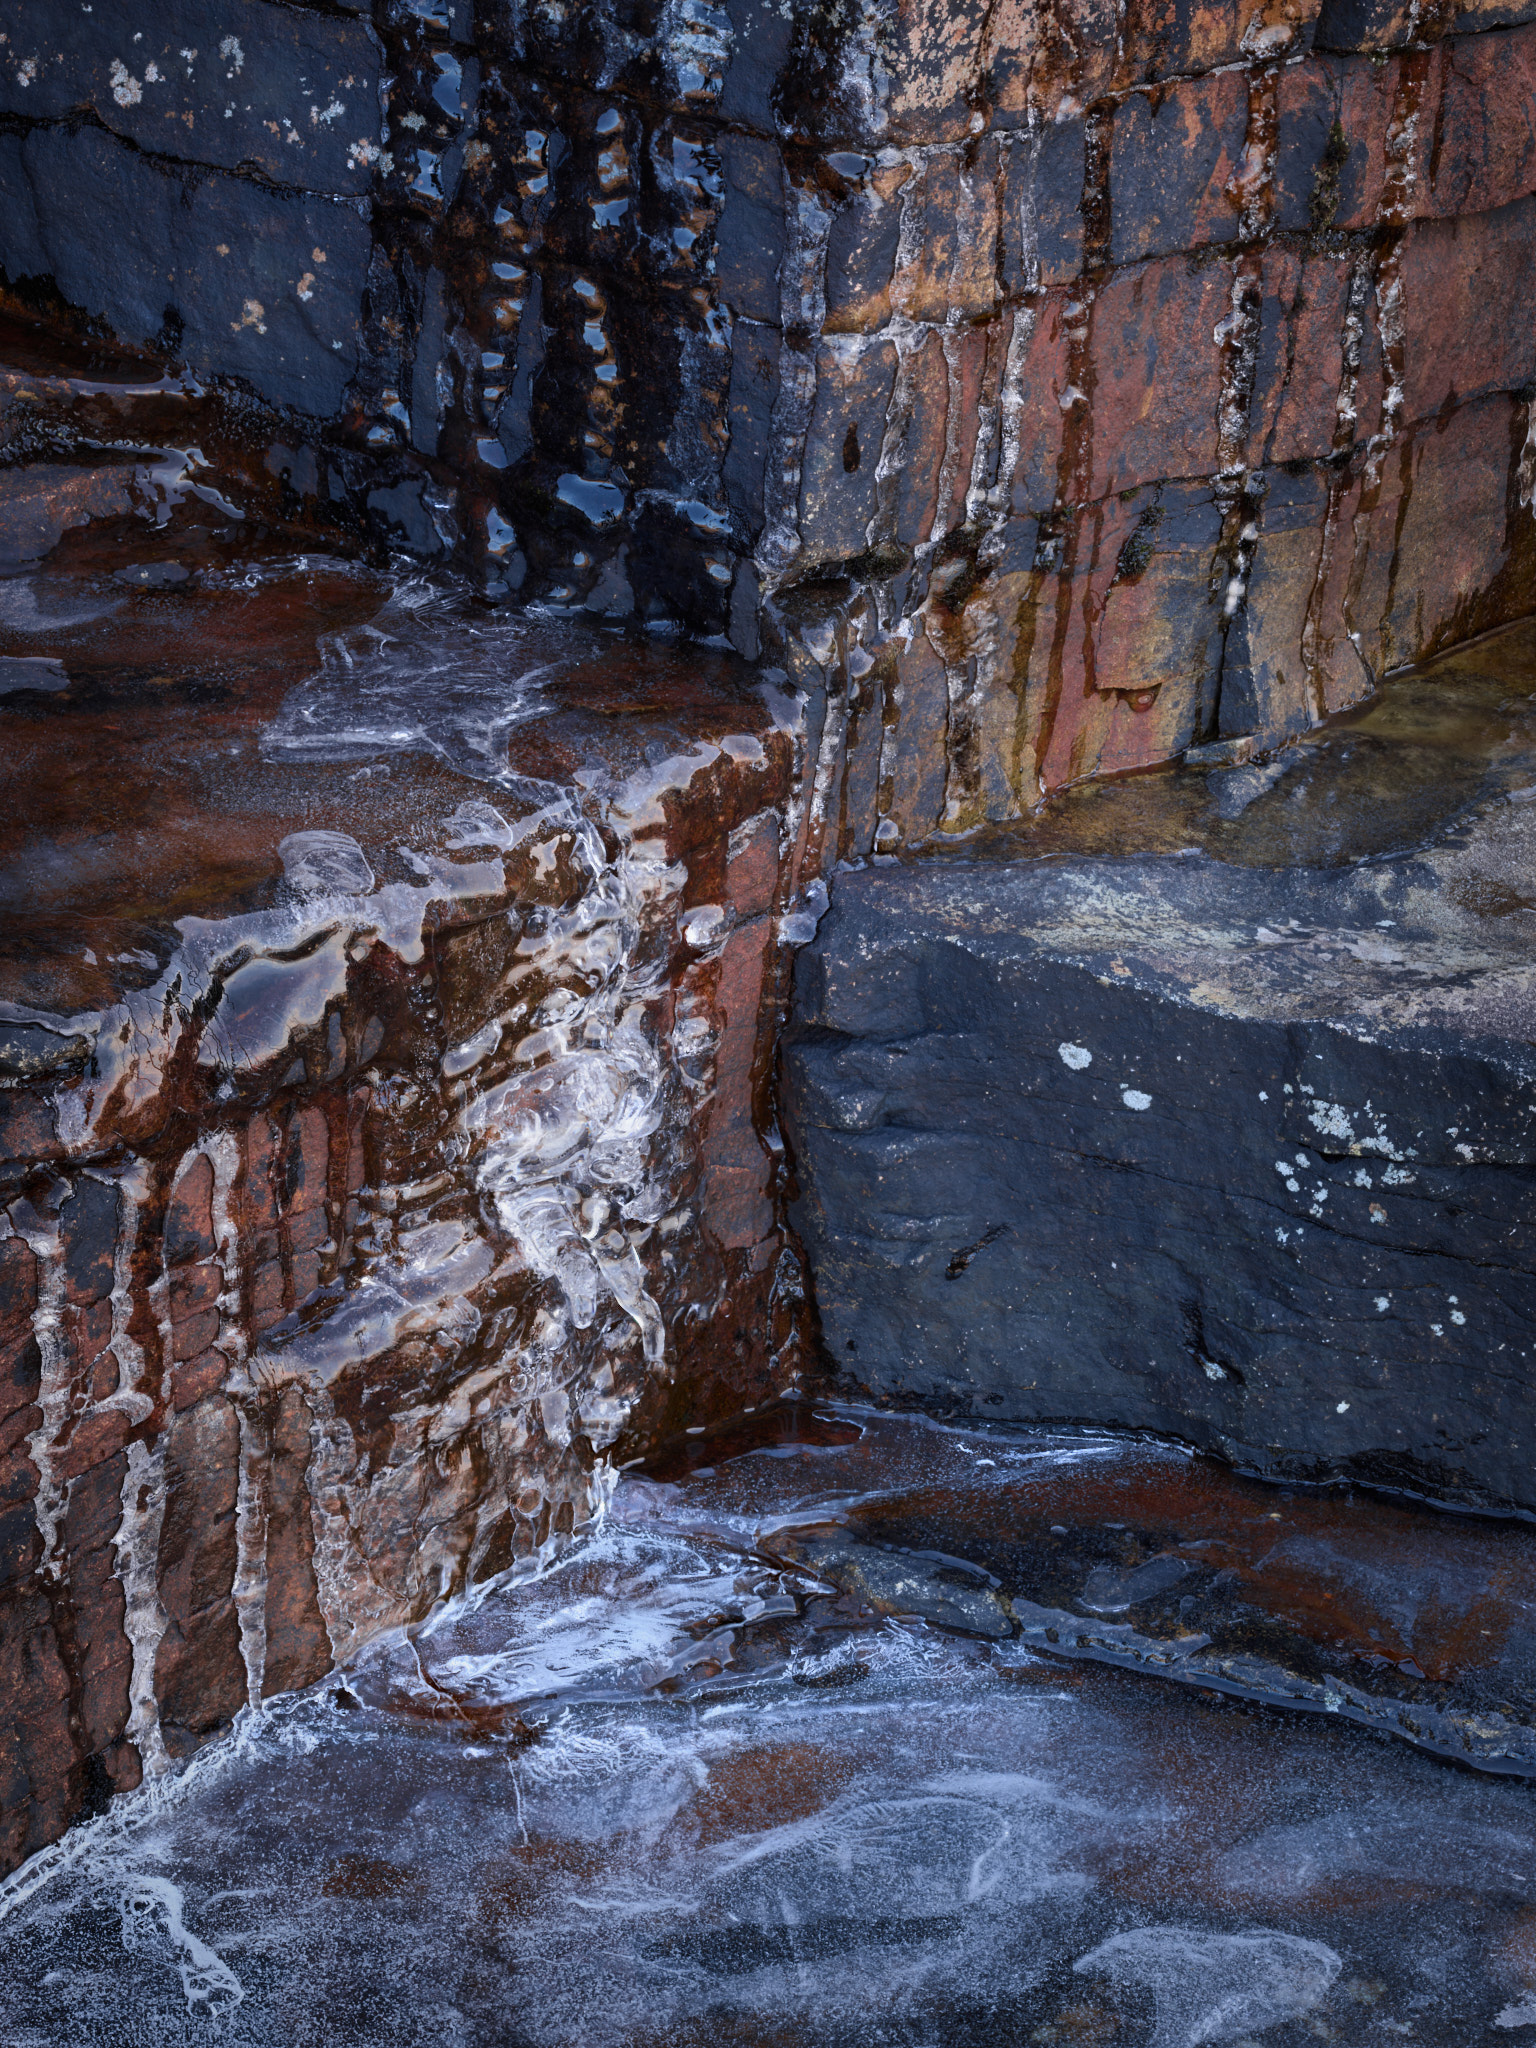
The large format blind spot or focus hole. Focusing using movements does not work in one particular, but sadly fairly common, situation: when some objects in the frame cannot lie in a single plane. For example when there is a foreground object spanning both the bottom and top of the picture that needs to be in focus (e.g. a large rock or tree) and the background also needs to be evenly sharp. It is a common occurrence when using movements to focus inner landscapes – getting a sharp result top and bottom of the picture, but a soft result (or hole) in the middle. In such a situation, moving the plane of focus doesn’t help entirely or even at all and can be counterproductive; you will find that part of the foreground object (the top) goes out of focus when you tilt the lens or film back. And tilts change the shape of the plane of focus and can actually reduce the image depth of field.
The only answer is to manage it with one of two techniques.
-
Stop down the lens. In such situations on 5×4 I used to stop down up to about f/32; the point, on 5×4, at which softness from diffraction begins to overtake the increase in sharpness from depth of field. Today I would use f/16 on my Rodenstock lenses.
-
Stacking. The fall back in the modern digital world is to capture multiple images with a different plane of focus by moving the rear standard down the rail in increments. And use Helicon software to stack the images. I use this technique a lot – movements to get the focus close and a few stacked images to close the focus hole(s).
So what is the downside?
Photography is all about trade-offs, and there have to be some downsides and limits to this in-camera control, apart from the obvious ones of slowness, weight and complexity. (Two of these I personally view as assets – as I mentioned earlier they slow me down, make me predictive rather than reactive and make me much more deliberate and precise when I make a picture. The third – weight – I put up with for now and keep reminding myself of Edward Weston’s adage that nothing is photogenic more than 500 yards from a car!).
The main limitations are as follows:
-
Camera limits – movements can be limited by the camera: for example, some cameras don’t have rear tilt. Although it is rare for the amount of permitted tilt to limit what you want to do, sometimes the amount of rise and fall is limited, and limiting. I notice this limit mostly with long lenses on my Cambo Actus – a 180mm lens might not have enough degrees of tilt to focus a flat plane ahead of you. Also the longer lenses typically are film-era lenses with large image circles so that you are not limited by the lens but the camera movements. This is one reason I use my Cambo Actus with the base tilts attachment – crude and with some rigidity downsides, but it is undeniably effective. In a tiny package, it more than doubles my effective movements. And I use the base tilts – a lot – especially in scenarios one and two with the 120 and 180.
-
Lens limits – lens coverage can limit the ability to apply movements: either because physically you run out of glass or because of light fall-off, particularly with wider-angle lenses. Obviously, this varies lens by lens.
-
Light fall-off – in some situations, front or back tilt can cause some light fall-off due to bellows factor. This is rare in practice and in the digital world entirely manageable. Significant shifts or fall/rises and tilts lead to light fall-off from not using the centre of the lens. This needs to be managed – traditionally through graduated filters, alternatively today in post.
-
Colour casts – it is worth mentioning this once-serious limitation in the digital world. Movements especially with standard and wide-angle lenses created terrible colour-casts in pre-2019 backs (e.g. Phase IQ3 100 and earlier) that had to be eradicated by using an LCC frame and applying automated adjustments in post. More on that another day but suffice to say BSI sensors such as that in the Phase IQ4 150 have all but eliminated that.
-
Messing it up – it is easy to make a mistake: leaving movements unsecured, accidentally setting a movement (e.g. swing), leaving a focus ‘hole’ etc. I still mess up occasionally even 20 years later.
I find being able to recognise and act on these five scenarios above (and practise their specific setups over and over again until it becomes automatic muscle memory) helps to simplify and understand technical camera movements. You just need to recognise which one of the five scenarios applies and then your craft kicks in.
There are some excellent books that explain all of this in way more detail. In particular I found Ansel Adams’s book The Camera a very good summary and Leslie Stroebel’s View Camera Technique very helpful as a cure for insomnia!
The transition to using these cameras in the digital realm was interesting and quite a journey. The downsizing of the image-capture format from 10×8 inches or 5×4 inches to digital medium-format sizes – basically 645 format like the Phase One backs (53.4 × 40.1 mm sensor) or cropped medium format (43.8 × 32.9 mm sensor) for later Hasselblad backs/GFX – required technical cameras with smaller and more precise movements and new lens designs for wide-angle. That is a journey I will talk about and explain in more detail in a future article.
Technical cameras remain core to how I make images with the goal of getting as much of the plane of focus and perspective right in camera rather than in post processing. The craft of using them is complex but fun and leads me to make stronger and higher quality images. If you learn to recognise each of the above five scenarios and how to handle them then technical camera use becomes greatly simplified.
Yorkshire, August 2026. This article is based on an article I originally wrote for my website in 2007.